Improved Font Rendering in Gentoo

EDIT: Updated to latest infinality (2010-11-14). Changed default fonts to Arial. Microsoft-fonts are available here.

EDIT II: The lcd-filtering overlay does not have an ebuild for the latest version of cairo. I have put together one ebuild (using latest patches from ubuntu and infinality). You can get it here. These ebuilds are now present in the lcd-filtering overlay.

Before I begin, full credits must go to PaulBredbury, Infinality and bi3l (gentoo-forums nick) who have done all the hard work on this.

Here’s my guide to get (what I believe) the best font rendering in Gentoo. Note that this uses ebuilds from an overlay, and thus is not officially supported by Gentoo. If you don’t know what an overlay is, look it up (and look up layman as well) on the internet. When you have your box configured to work with overlays, continue with this guide.

layman -a lcd-filtering

Add the following lines to /etc/portage/package.use


##LCD Filtering Overlay
media-libs/fontconfig lcdfilter -cleartype
media-libs/freetype lcdfilter -cleartype
x11-libs/cairo lcdfilter -cleartype
x11-libs/libXft lcdfilter -cleartype

Now, emerge the following packages. Take care that these packages are being emerged from the lcd-filtering overlay and in the exact same order.

emerge -av1 freetype fontconfig libXft cairo


The .fonts.conf configuration file that I use is based on the one provided by Infinality. The only change that I have made is chose Aller as the default sans and sans-serif font, OFL Sorts Mill Goudy ast the default serif font and Inconsolata as the default monospace font. You can edit the provided .fonts.conf if you want to chose other fonts as the defaults.
I have lost my alteration of .fonts.conf and the fact that I do not have currently have access to a Gentoo installation implies that I can not create and test a new one. In case you want to change the default fonts, you will have to do it via your DE or create your own .fonts.conf (if you work in a DE agnostic environment).

Install the fonts I use (if you want to). I would still recommend using these fonts though. They look brilliant.

  • Arial (media-fonts/corefonts)
  • Vista Fonts (Here)

Make sure your eselect fontconfig list looks like this (ignore the lohit family if you do not have it installed).


Available fontconfig .conf files (* is enabled):
[25] 50-user.conf *
[36] 66-lohit-assamese.conf *
[37] 66-lohit-bengali.conf *
[38] 66-lohit-gujarati.conf *
[39] 66-lohit-hindi.conf *
[40] 66-lohit-kannada.conf *
[41] 66-lohit-kashmiri@devanagari.conf *
[42] 66-lohit-konkani.conf *
[43] 66-lohit-maithili.conf *
[44] 66-lohit-marathi.conf *
[45] 66-lohit-oriya.conf *
[46] 66-lohit-punjabi.conf *
[47] 66-lohit-sindhi@devanagari.conf *
[48] 66-lohit-tamil.conf *
[49] 66-lohit-telugu.conf *
[50] 67-lohit-malayalam.conf *
[51] 67-lohit-nepali.conf *

Restart X and have fun!
The Perfect KDE4 Setup

Let me first present to you how this would look like – you can then see whether you want to continue with this or not.

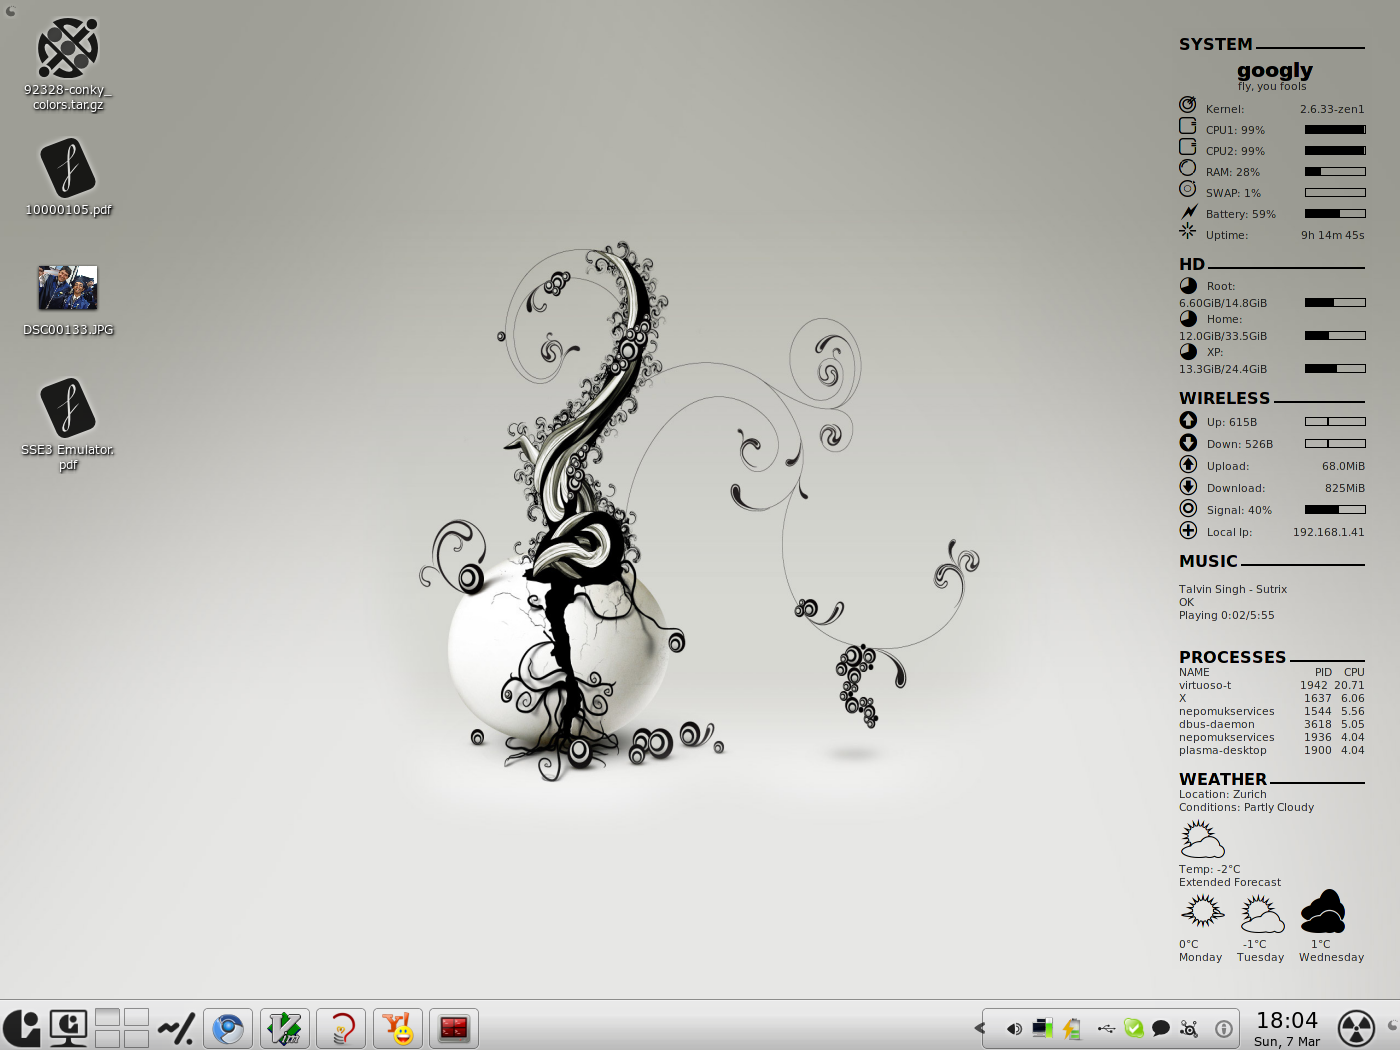
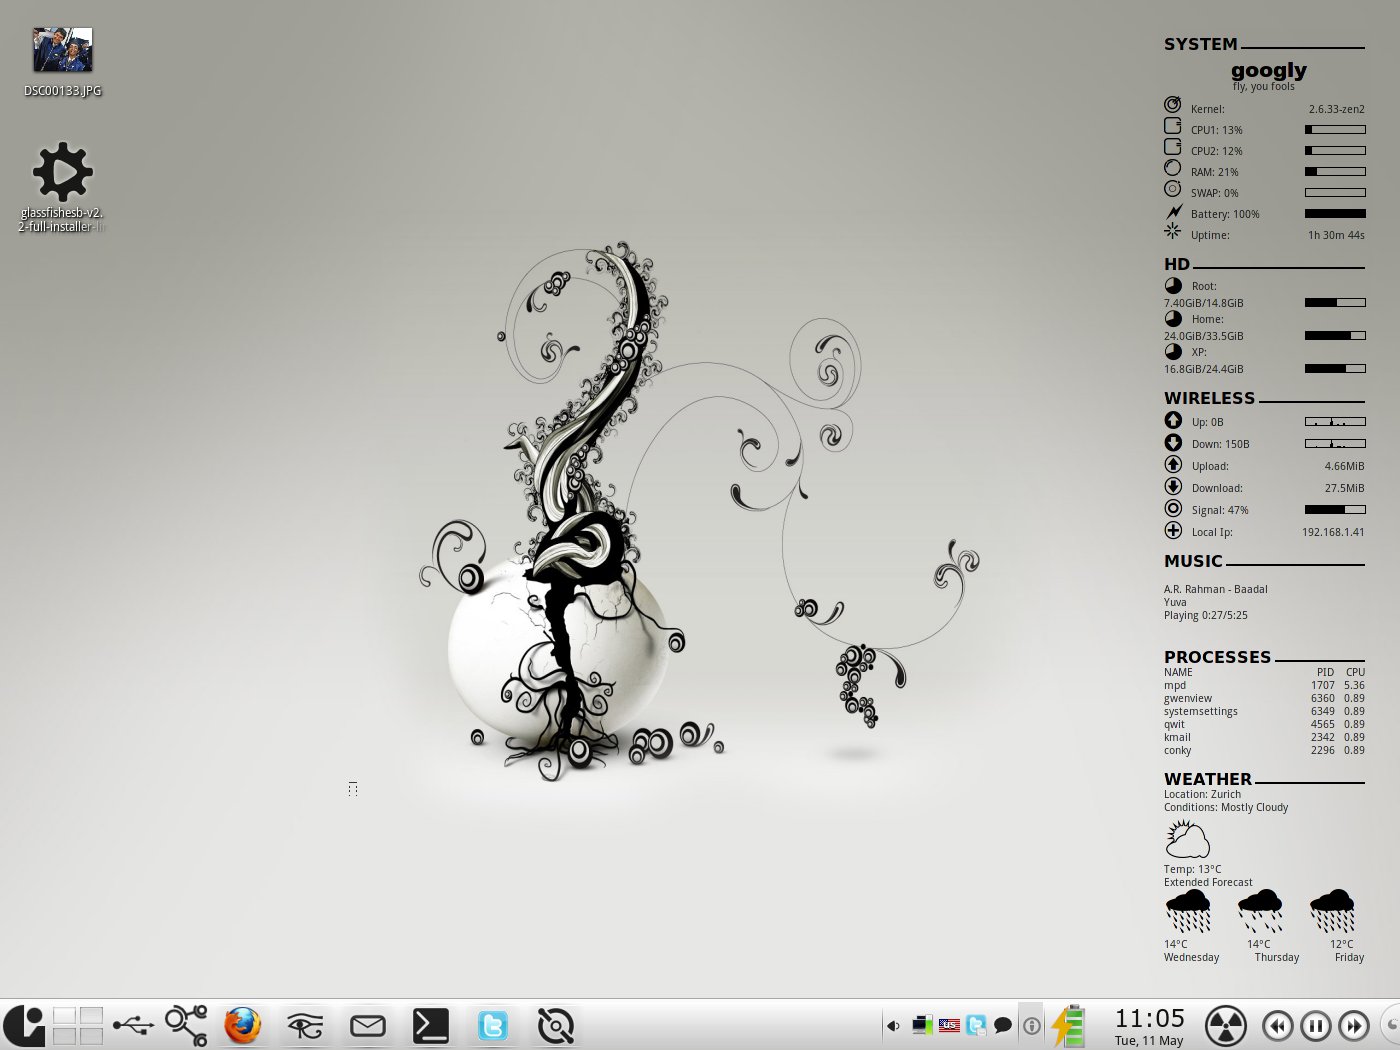
A clean view of the KDE Desktop

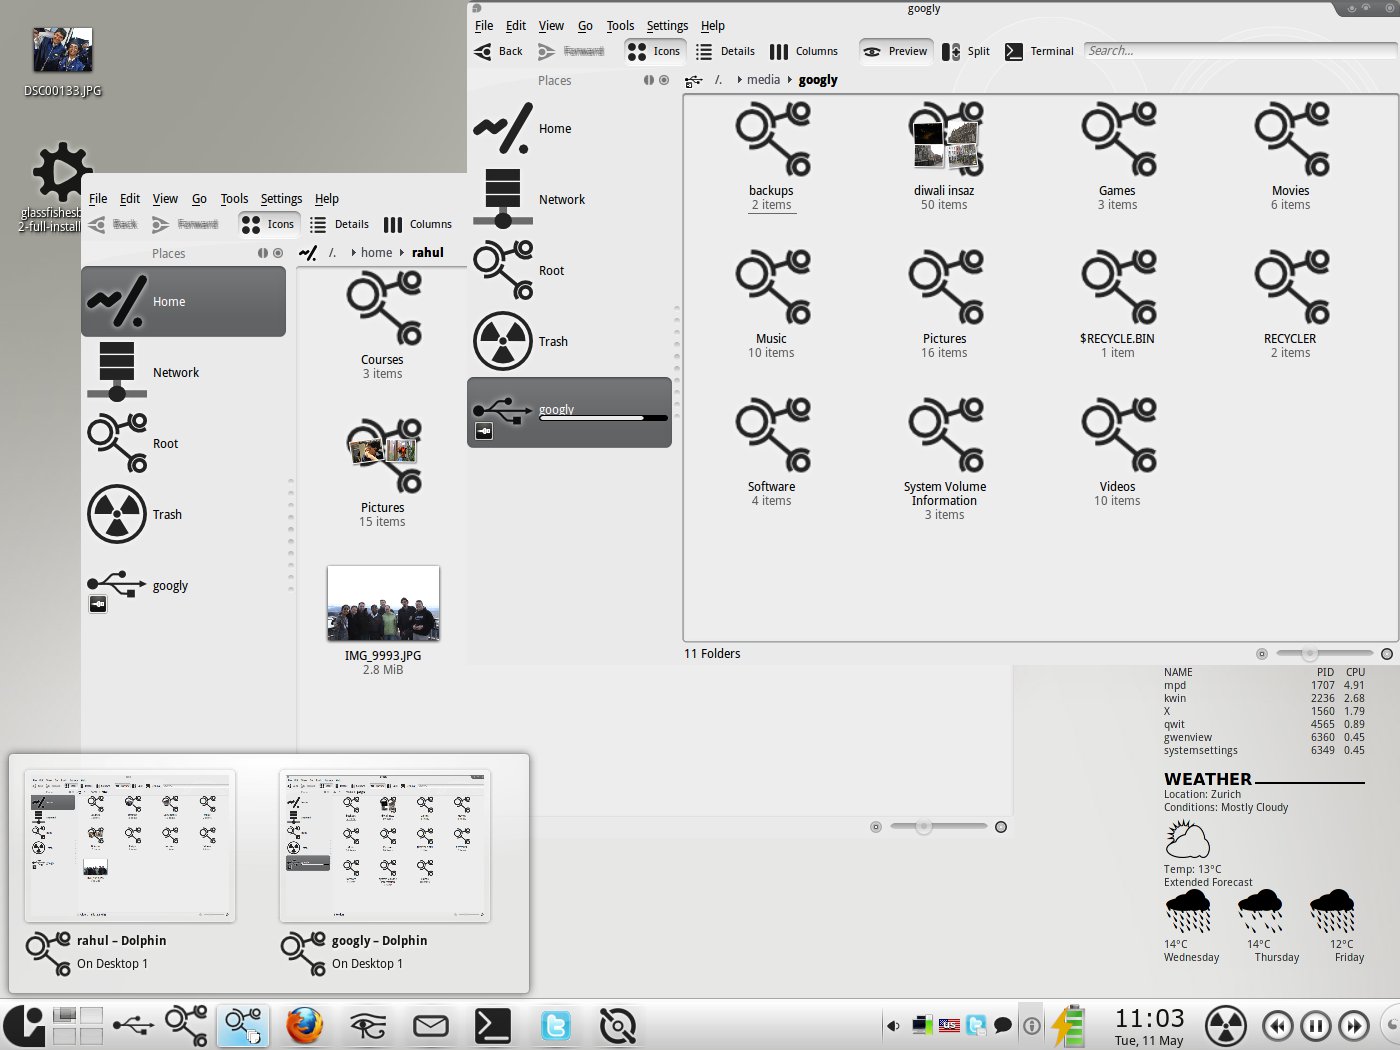
KDE Desktop with Applications

Now, if you feel that this is right for you, feel free to carry on.

First of all, to allay any claims of shameless plagiarism, this guide is inspired from the perfect guide which is available at Ubuntu Evolution (dead link)- in fact, the guidelines for Ubuntu users has been copied verbatim from there. Other users could also head over there if they want an alternative to the visual theme that will be provided here. The major difference is that this guide also deals with ways to integrate applications like skype, firefox, etc. into the provided visual theme.

Installing the Bespin Theme (Gentoo Users)

  • You must have layman configured and installed. If not, have a look here.
  • layman -L -k         // As root, to refresh your list of overlays
  • layman -a kde    // As root, add the kde overlay (this is where you will find the bespin theme)
  • emerge x11-themes/bespin

Installing the Bespin Theme (Ubuntu Users)

Rather than repeat the excellent tutorial by Ubuntu Evolution, I encourage you to head over there (dead link) and follow the section “Downloading and Installing of Bespin Style”. Also make sure that you install the development libraries that are mentioned there in the paragraph before this section.

Installing the Bespin Icon Theme (Gentoo Users)

I am acting under the assumption that you already have the bespin theme installed. The following instructions assume this. The instructions in italics are to be carried out as root, whereas the instructions in normal typeface need not be carried out as root.

  • cd /usr/portage/distfiles/svn-src/bespin/cloudcity/icons/
  • cp config.example config     // Note: I have not edited the config.example file – you are free to edit it if you like
  • sh generate_kde_icons.sh
  • cp -rf nmfnms/ $(USER)/.kde4/share/icons/
  • cd $(USER)/.kde4/share/icons/
  • chown -R $(USER):$(USER) nmfnms/
  • chmod -R 755 nmfnms/
  • Now select the icon theme from System Settings -> Appearence -> Icons.

Installing the Bespin Icon Theme (Ubuntu Users)

Ubuntu users would do well to head over again to the Ubuntu Evolution post (dead link) and follow the section Bespin Icon Theme.

KDM Theme

My recommendation would be to use lzfy as your KDM theme. Feel free to try out the Bespin KDM theme as suggested by Ubuntu Evolution.

Ksplash Theme

I rather prefer the Glassified splash theme. I would like to use the KStarBoard theme – however it does not work for me. I don’t quite know why. However, I have created a B/W mod the KStarBoard mod of this theme – it is available here. I think it would go rather well with the setup – use it if it works for you. That mod has been lost recently.

Colour Scheme

You can download the colour scheme here. To add this Colour Scheme use System Settings -> Appearence -> Colors. The colour theme, too, has been lost in a recent outage. It was a mod of this theme. Thanks to Ivan (see comments below), I have a copy of the colour scheme. You can download it here. Once again, thanks Ivan!

Bespin Theme

The Bespin Theme is available here. To activate this simply follow the following steps:

  • System Settings -> Appearence -> Style -> Select Bespin.
  • Bespin -> Configure -> Presets -> Import (simple.bespin – the theme you downloaded above) -> Load.
  • Tip: Tab Animation does not work uniformly on all hardware. You might want to disable it. Go to Bespin -> Configure -> Tabs -> Animated Transition -> None -> OK.

Window Decorations

  • System Settings -> Appearence -> Window Decorations
  • Select Bespin
  • Border Size -> Tiny
  • Buttons -> Icons -> The Rob (3rd gen)
  • Apply

Plasma Theme

I prefer the theme “Air for netbooks” (and I don’t use a netbook :P) which comes bundled with KDE SC 4.4. There is also a plasma theme which is catered for Bespin users – you can find it here. Use whatever suits you. 🙂

The Smooth Tasks Plasmoid

This is what provides the Windows 7 look to the System Taskbar. Head over to its kde-look page to get instructions on how to install it. Gentoo users can install the package kde-misc/smooth-tasks which is available in the kde layman – which as you might recall, we have already acquired.

Some specific Smooth Tasks settings.

  • General -> Grouping -> By Program Name.
  • General -> Sorting -> Alphabetically.
  • General -> Filters -> Only show tasks from the current desktop.
  • Appearance -> Tool Tip -> Tool Tip Style -> Smooth
  • Appearance -> Tool Tip -> Preview Style -> New

There are a plethora of other settings that you can play around with, but I would recommend the above for a “smooth” experience.

Other Recommended Plasmoids

Applications

  • smplayer – download the bespin icon theme for smplayer here.
  • kopete – I would recommend the Perfect Adium Pushpin chat style.
  • firefox – sadly there is no matching firefox theme. If someone can make one, I would be obliged. Meanwhile, I use the Oxygen theme and vimperator.
  • skype – use the latest 2.1 beta 2 (for linux) skype. This has support for Qt Styles – and works perfectly with the bespin theme.
  • Gtk Apps – this is always a pain. There really is no gtk theme that I have found which goes well with bespin. I am currently using Clearlooks – if anyone can find/make a theme which goes well with bespin, well I would indeed be grateful.

That is all I can think of for now. If you would like to know something more, feel free to comment.

P.S. For those of you who are interested in the conky configuration, have a look see here.

The Perfect Conky Setup

A picture is worth a thousand words, have a look for yourself.

Conky on KDE4

So, how to get this goodness on your computer. Quite easy. Simply follow the following steps and you will have a similarly amazing desktop.

  • Firstly, install conkyForecast.
  • Gentoo users, go here.
  • Ubuntu users, head over to here.

Everyone now head over to weather.com and register yourself. Obtain your XML Partner ID  and License key. Use the following command to search for your location code. Change Zurich to your city name.

$ curl http://xoap.weather.com/search/search?where=Zurich

You can then get the location code from the output of the above command.

Next, copy the conkyForecast configuration file over to your home folder and fill in the Partner ID, Location Code and License Key.

cp /usr/share/conkyforecast/conkyForecast.config ~/.conkyForecast.config
vi ~/.conkyForecast.config

Download the conky configuration file from this link and save it to your home folder as .conkyrc.

Now download Conky Colors from gnome-look. Extract the archive and install all the fonts that are present in the package. Even though not all of the fonts are required for the setup (you can take a quick look at the conky configuration file to see which fonts are actually needed) the fonts are quite nice and having them on your computer won’t hurt at all.

Install conky if you have not already done so. IMP: This theme is tested with conky-1.8.0_rc2 so make sure you are using this or a newer release of conky. If you are on gnome please edit the configuration file to suit your needs (in particular change the location code to get the weather of the city you reside in) and then launch conky. If there are any particular hacks that are needed to integrate conky and gnome, my apologies for not being aware of them. Please feel free to add any such suggestions in the comments section, I will update the post with it.

KDE USERS:

If you are using KDE4, also install feh, an image loader which will help us to integrate conky seamlessly into the KDE environment. Now create this script, which we will use to launch conky.

$ nano conky.sh
#! /bin/bash
conky -&
sleep 3
feh --bg-scale `grep 'wallpaper=' ~/.kde4/share/config/plasma-desktop-appletsrc | tail --bytes=+11`

The above script is supposed to read your wallpaper settings and use that to redraw the background of conky. For some reason, it is not working for me so I hard-coded my wallpaper in to the script.

$ nano conky.sh
#! /bin/bash
conky &
sleep 3
feh --bg-scale /home/rahul/Pictures/Wallpapers/wall_abstract.jpg

Use whatever method suits you. Do remember to make the script executable.


chmod +x conky.sh

Take a final look at conkyrc. Make sure that you have the right location ID for the weather. Use KDE system settings to add this script at startup and voila! We are done. We now have the perfect conky setup. For immediate testing, launch the script.

REFERENCES:

P.S. The music part will only work if you use MPD.

Installing WordPress Locally on Gentoo

There are already a couple of informative articles on this. Good as they are, I managed to run into a couple of problems that are not detailed on these articles possibly due to the fact that they were written a long time ago. Therefore this article, to help others (and me) who in the future wish to achieve the same that I did.

USE Flags

  • dev-lang/php apache2 mysql (in addition to ones already enabled by default)
  • www-apps/wordpress vhosts

Emerge WordPress

  • emerge -av wordpress

Install WordPress using webapp-config

  • webapp-config -I wordpress 2.9 -d wordpress

Configure the MySql database

  • mysql -u root -p (login to MySql)
  • CREATE DATABASE databasename; (create a database, replacing databasename with the name that you wish to choose)
  • GRANT ALL PRIVILEGES ON databasename.* TO username@localhost IDENTIFIED by ‘password’; (Create a user for the above database, replacing username with the name that you intend to use. Similarly with password)
  • FLUSH PRIVILEGES;
  • exit

Configure WordPress

  • vi /var/www/localhost/htdocs/wordpress/wp-config.php (and verify the following settings)


// ** MySQL settings ** //
define('DB_NAME', 'wordpress');     // The name of the database
define('DB_USER', 'username');     // Your MySQL username
define('DB_PASSWORD', 'password'); // ...and password
define('DB_HOST', 'localhost');

Configure apache2

  • vi /etc/apache2/httpd.conf
  • Comment out the following line: LoadModule unique_id_module modules/mod_unique_id.so
  • Add the following to the end: ServerName localhost
  • vi /etc/conf.d/apache2
  • Add the “-D PHP5” to the options passed in APACHE2_OPTS

You are set to go

  • Start apache2: /etc/init.d/apache2 start
  • Point your browser to http://localhost/wordpress
  • Have fun

The way KDE4 should look

In case you were not aware of it, the best theme for KDE4 is Bespin. Not Oxygen, not qtcurve. You might say that themes are like desktop wallpapers – to each his own. I would disagree. KDE4 brought along a slew of improvements and new paradigms to the Linux Desktop Environment and in its small way Bespin does that as far as theming on the desktop is concerned. Insanely customizable, it will allow your desktop to have the sort of look that you will fall in love with it.

Some features that I especially like about it:

  • “Air Like circle Overlays in Window backgrounds”
  • “Behave rather Maccish – except file management most other things activate on single click”
  • “Slim Sliders”
  • “Hacks – Animate all Tree views”
  • “Presets – switch configurations on the fly”
  • And some more ..

So, go ahead and try it! Most popular distros have a package for it. For Gentoo grab it from the kde-testing overlay (x11-thems/bespin-9999).

Gentoo FTW!

So, the folks at linux-mag have bench marked Gentoo(x86_64) compiled with march=core2 and -O2,-O3 or -Os and compared it with Ubuntu 9.04. While Ubuntu 9.10 is already out, the software used on Gentoo (seems that the used the stable branch of Gentoo) is closer to 9.04 than 9.10. And what do the results tell us? Exactly what we already knew. Gentoo kicks ass. We already knew that, didn’t we. However, what is interesting is that when most of the people have been harping that optimizing for a particular CPU (which I believe is the primary reason for the differences that we see) is not useful anymore, it seems that the this is really not the case. In my own experience, I concur. My Gentoo system has been far more responsive than my Ubuntu or even Arch systems ever were.

Read the full article here: http://www.linux-mag.com/id/7574/

Why I would be thankful to Ubuntu

It is quite easy to not like Ubuntu. I do not like it, I can not use it anymore. A lot of you here would now expect me to provide a detailed overview as to why I do not like Ubuntu but this is not what this post is about. In a nutshell, allow me to say that the fact that Ubuntu is not a rolling release, it asks me to install *-dev packages if I want to compile software that links against those packages (think about compiling a plasmoid from kde-look.org that is not yet in the repos), the fact that I have to install a basic toolchain on a new install (if I want to compile my own kernel) ticks me off.

Now I take a step back and look again at the grievances that I have with Ubuntu, and the realization that three years ago the sentence above would have been Greek to me suddenly dawns on me. When I was introduced to Linux about three years ago, I had no idea what Linux was. I had never used it before, and had never seen anyone use it. Windows was the only thing that I had ever used (and I started with 3.1) and I was not aware of the alternatives that existed. So when my friend told me it was another operating system (being a computer science student I was interested in the fact that Linux is “just a kernel” and then we have separate distributions) I was interested. He got a Ubuntu Live CD and walked me through an installation. And within an hour I had a working Linux installation – no need of installing drivers – it seemed easier than windows. He told me to just go to the Ubuntu Forums if I have a problem.

Over the next week, I played around with it. Changing the wallpaper, changing the theme (Hey, there are a lot more options than Windows!)and changing the icons (hey, I can do this without installing any third-party apps! Cool!). In between, I learnt about 915resolution so that I could run my Intel 945GM at its native resolution (Intel drivers have come a long way since then). And it was not long before I was installing beryl and compiz, and showing off my transparent cubes, 3-D windows and all the other plugins that were built in with compiz.

Within a year, I came to realize how much I liked to use Linux. I learnt what a rolling release was, I learnt that I could configure my own kernel, and I learnt about building software from source (when a particular package was not available via apt-get). I moved over to Arch via a switched time (my first attempt at a Gentoo install was a failure :P) and soon I switched over to Gentoo where I have remained since then.

My point here is simple. I could not have started with Arch or Gentoo. I had no idea what Linux was, and I would have been lost with those distros. They assume a working knowledge of Linux. I was willing to learn, and Ubuntu was the perfect teacher. It eased my transition towards Linux and no other distro could have done a better job. Even now, no other distro out there can do a better job. And I recommend Ubuntu for any of my friend who is willing to try out Linux – because it is the easiest way to try Linux and yet not be lost.

In short, Ubuntu is like a primary school teacher. We learn the most from her, but then we all start talking about particle physics, nanotechnology, operating systems and haskell and what not; and forget her. But she remains our first teacher.

Changes in the Zen land

The past week has seen quite a few changes in the zen domain. Change, they say, is a necessary evil, so rather than dwell on what was we now look forward to what it would now be.

Zen-sources, as it was called, has a new name and a new home. It is now called zen-kernel and the new home can be found at http://zen-kernel.org/. Tutorials on how to install zen-kernel for the Linux distro of your choice are already up and this is where you should be headed. Because zen-kernel is still the way Linux Kernels should be. I would be posting benchmarks results of vanilla kernel vs. the Zen kernel pretty soon. Details will follow later, but right now I am not in favour of using phoronix test suite. I would rather benchmark more day-to-day tasks and see how the respective kernels perform.

Back to the changes in the zen land for now. The zen developers are also looking for a new logo. There is already a lively discussion in place at the Gentoo forums. Head over there, in case you want to take a sneak peek at the submissions that have been made so far.

And now the biggest change so far. This one is certainly for the positive. Zen kernel is now in portage (a big yay for all Gentoo users – it is now even easier to get zen). So, fellow Gentoo users, what are you waiting for? emerge zen-sources awaits you.

Adblock in Konqueror

Want to use konqueror for browsing the net in KDE4 but don’t want to view annoying ads?
The problem is now easy to solve.

Konqueror -> Settings -> Configure Konqueror -> Adblock Filters -> Enable Filters and Import ->
navigate to $HOME/.mozilla/firefox/whatever.default/adblockplus/patterns.ini
click open -> apply

That’s it 🙂

Thanks to Mike Hunt from Gentoo Forums.

Zen Sources: The Way Kernels Should Be

From the main site, which can be found here.

Zen-Sources is a collaborative effort of kernel hackers and enthusiasts to provide the best Linux kernel possible. We include code that is not yet found in the mainline kernel in an attempt to support the latest hardware, new features, security fixes, optimizations, etc.

Now, on to the important stuff:

  1. Installation Guide for Gentoo Linux. (here). I recommend following the hand based git setup. (here).
  2. Arch Linux Install Guide (here).
  3. Ubuntu Guide. (here).
  4. For other distros, see the git mentioned in 1. (or check the repos and forums forums for your distro)

As you might have guessed from my recommendation, I have been using the git based setup on my Gentoo Linux install as my primary kernel. It has worked for me most of the time (there have been instances where the use of a kernel in rc stages has induced a bug or two – but this has seldom been the case and there is always the possibility to switch back to the stable release of zen sources).

There is a long list of projects that are included in zen sources (see the full list here) but the major advantages that I would think worth mentioning are:

  • Zen Tune
  • Brain Fuck Scheduler (don’t judge on the name)
  • BFQ
  • No problem with suspend/hibernate (and this is without TuxOnIce)

I would definitely suggest everyone to have a go at this. You will like it.